Friday, September 25, 2020

Login EC2 instance without SSH and configure CloudWatch by using AWS Systems Manager

In this post we will discuss on how to login Linux boxes without SSH Keys by using AWS system manager. 

in general as soon as create an AWS Ec2 instance, we have to login to the instance and manage it right? So, in order to connect to Linux boxes needed SSH Keys and for Windows boxes RDP Protocol.

before going to the actual steps , we have to know about what is AWS system manager and the session Manager.

AWS Systems Manager is an AWS service that you can use to view and control our infrastructure on AWS.

With Systems Manager, we can group resources, like Amazon EC2 instances, Amazon S3 buckets, or Amazon RDS instances, by application, view operational data for monitoring and troubleshooting, and take action on our groups of resources. 

Systems Manager simplifies resource and application management, shortens the time to detect and resolve operational problems, and makes it easy to operate and manage your infrastructure securely at scale.

The AWS Session Manager is part of the AWS Systems Manager service.

Session Manager is a new interactive shell and CLI that helps to provide secure, access-controlled, and audited Windows and Linux EC2 instance management. Session Manager removes the need to open inbound ports, manage SSH keys, or use bastion hosts.

With Session Manager, you can improve security, centralize access management, and receive detailed auditing. In addition to not requiring you to open inbound ports, you can use Session Manager with AWS Private Link to prevent traffic from going through the public internet

Session Manager users can get started quickly by clicking to start a session and then selecting an instance.

now jump in to the configure the actual steps.

Create Roles in IAM Console:

Go to IAM console  and create Role with the below policies

 AmazonEC2RoleforSSM  and AmazonSSMAutomationApproverAccess 

in my case I'm creating the name called AWS-SYSTEM-SESSION-Management
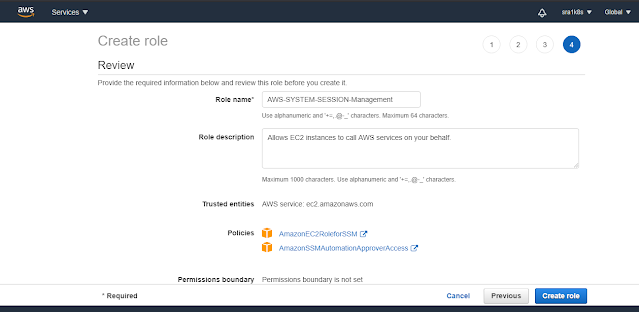
please find the below Summary of the Role which we have created for more understanding
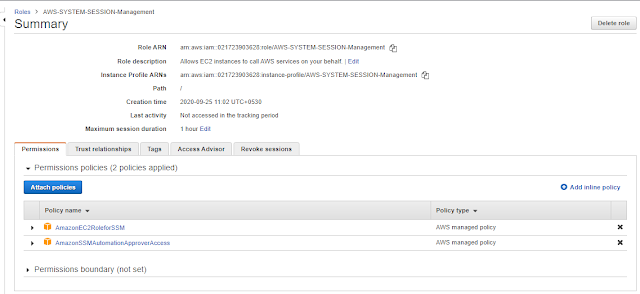
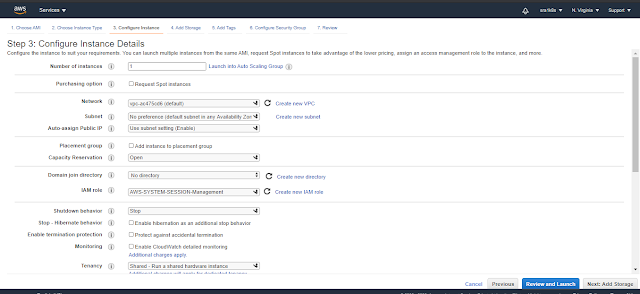
Now we have to create the EC2 instance by providing the Roles which we have created above.as below 

Go to EC2 dashboard 

Launch Instance

Step 1: Choose an Amazon Machine Image (AMI)

select your desired AMI from the list

Step 2: Choose an Instance Type

choose t2.micro

Step 3: Configure Instance Details
Step 4: Add Storage

give it blank

Step 5: Add Tags

give it blank, if want you can add.

Step 6: Configure Security Group
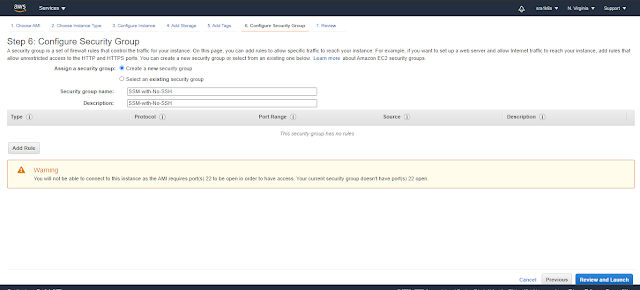
Step 7: Review Instance Launch

Click on the Launch button and select the key pair as below screen
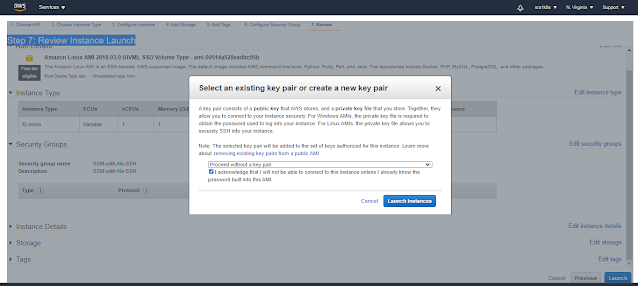
Then click on Launch Instance.
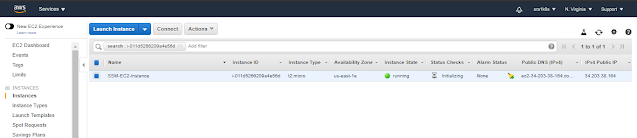
Now we will connect Ec2 Instance which we have created by 2 ways .

1. from EC2 Dashboard
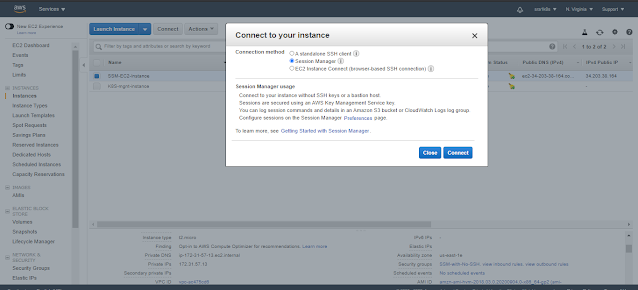
click on connect we will get the below screen with out asking username and password to the box.
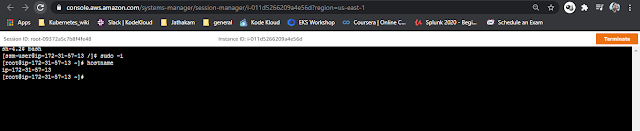
2. from the System Manager service :

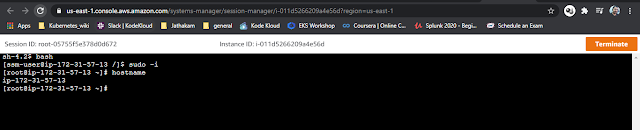
select the instance and click on start session it will take you to the ec2 Linux box which we have created.

We can configure AWS CloudWatch, to allows us to know what we are doing on created instance, in order to that go to CloudWatch service and create the log group
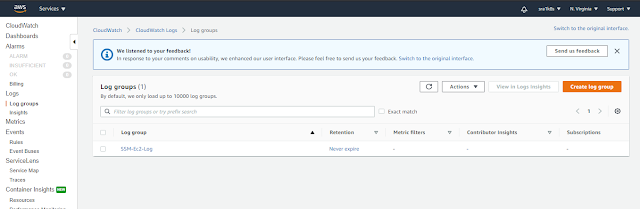
then go to System manager Service -->  Session manager --> preferences  
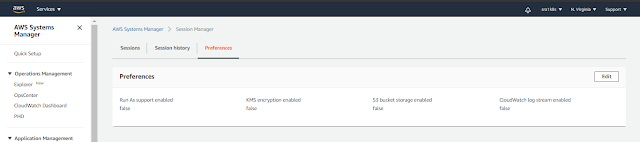
and click on Edit
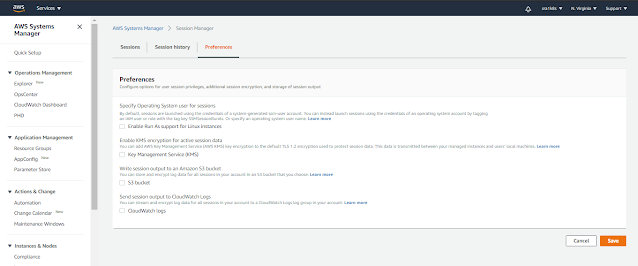
select on the CloudWatch logs check box.
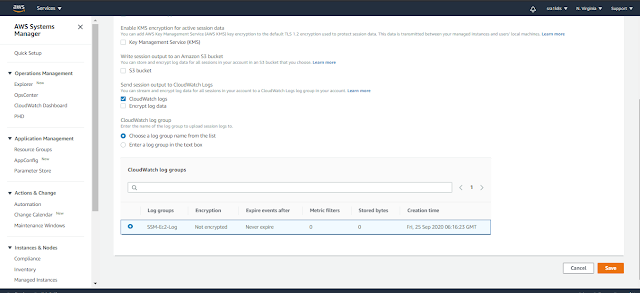
and Click on Save.
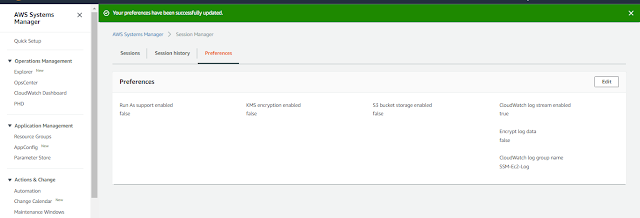
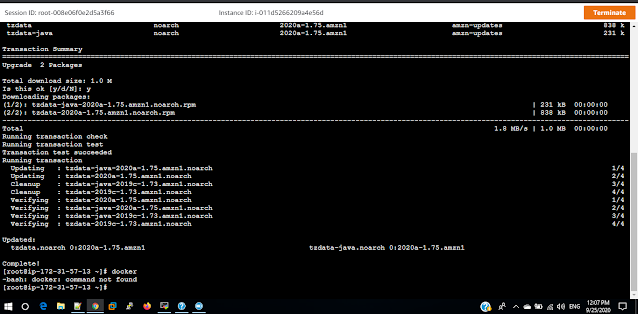
after completion of the Cloud watch configuration, we will run some commands on the linux box and see whether those are recorded on the cloud watch.
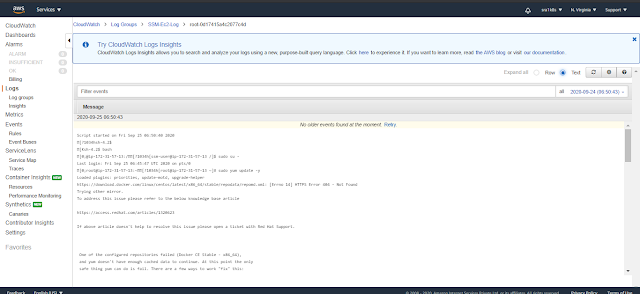
after some time .. CloudWatch will record the entire Box and its events.
For more details on AWS System Manager  Session Manager can be found at :

reference


Friday, September 11, 2020

Core concept of Containers and Docker - installation & some basic commands

 Docker

In this post we will discuss about Docker and its features.

lets get started,

server: its a physical machine (OS) and that is gong to be manage the application deployed and that application can be serverd.

virtual machine: is also a box on top of it there are several physical machines will run , each VM responsible for the one of the application should be serverd.

container: is also a dedicated platform , where we are going to run the application to be serverd.

actual use case prospective there is no difference among 3 models.so our target is to run the application either top of Server, or top of VM or top of Container.

if you think about structure, cost and the functionalities, there are huge differences of 3 models.

lets understand the concepts and how container is going to provision in linux boxes.

firstly we have to understand cgroups ,  it is the utility which is available in OS, which will helps to assigned CPU and Memory to the each process.

this utility was there in OS from long time, but in containerization environment we are using widely for assigning CPU & Memory to the specific container. 

now lets understand about Namespaces, there are so many organs or components, those are physical components and  logical components, in order to function our OS, logical components will help and those available in  linux box.

PID : which will manage the process those are running on OS

MNT: which will manage file system structure of OS

NET: which will manage networks on the OS(in/out communications)

IPC: which will manage memory sharing on the OS

UTS: which will manage identification information on OS.

from kernel 2.6 they defined all 5 components are as Namespaces, each component as its own Namespaces, like PID Namespaces, MNT Namespaces ...

also from 2.6 they have introduced cloning the namespaces , we can create number of  clone namespaces on the linux box( with 5 primary namespaces) and join those.

now lets understand about Images. it is a binary that includes all of the requirements for running the application.

when ever we are creating the container, our created platform can be created through Namespaces, and resource allocation done through cgroup. on top of platform we need applications right that is basically through Images.

so collaboration of Namespace, Cgroups and the Images is knows as Containers. 

Technically each container considered as a process in OS prospective.

each containers has its dedicated network, dedicated storage and dedicated process space.

containers are isolated piece of linux box. it may be 1 or more we can create. there is no relation between one container to another containers.

as a difficult task to OS to collaboration of 3 (Namespace, cgroups and Images),so in order to makes easiest provisioning and we use something tool called as Docker.

Docker is container technology which is launched in 2013 as an Open source 

Docker is a kind of software which is helps to create container/run the container/delete the container on the linux boxes.

Docker alone will won't provision the container, Docker will use OS functionalities  to create the container.

we can containerize any type of application by using Docker. it won't do any orchestration stuff.

in order to do our application to containerized we have to collect the information of our application then create the image based on docker file and from that we can as container and that will use in any platforms.

We will learn how to install Docker and usage of some basic docker commands.

Docker installation steps on centos:

Login to any of the Cloud platforms and login as root and execute the below commands one by one in centos 7.

  • yum update

  • yum install -y yum-utils device-mapper-persistent-data lvm2

  • yum-config-manager --add-repo https://download.docker.com/linux/centos/docker-ce.repo

  • yum search --show-duplicates docker-ce
  • yum install docker-ce-19.03.0-3.el7.x86_64

  • systemctl start docker

  • systemctl enable docker  

To check the docker version : docker -v  ( for shorter output)


To check the docker version : docker version  ( for full output)


I'm installing Ubuntu container in the box. with Ubuntu image.

docker run -itd --name container1 ubuntu is the command with detached mode.


To verify Namespaces and the Cgroups associated to the created Docker container

before creating the Ubuntu container : see the Namespaces List as below

lsns command to list the namespaces on the box.


before creating the Ubuntu container : see the cgroups List as below


systemd-cgls  is command to list the cgroups on the box.


Some default cgroups can be shown in the above screen, there is no specific Cgroups for the container image which we have created.

After creating the Ubuntu container: see the namespaces List as below

Yellow coloured highlighted namespaces are created.


After creating the Ubuntu container : see the cgroups List as below

systemd-cgls  is command to list the cgroups on the box.


let us see the creating of the other container with same Ubuntu image to verify the Namespace and the cgroups. it will give us a clear picture that each container is isolated on the linux box with Namespaces, cgroups and images

creating container2 :


for container2 we have got same set of namespaces & cgroups with different PID. 


Basic Commands:

docker ps   --> list of the containers

docker run -itd --name Container-Name image:tag   --> to run the container with detached mode

docker run -it --name Container-Name image:tag  --> o run the container with atached mode

docker ps -a   --> for list of the stopped containers

docker login  --> for login to docker hub account

docker logout --> for logout from docker hub account

ps -eaf | grep docker  | wc -l


Image Commands:

  build       Build an image from a Dockerfile

  history     Show the history of an image

            ex:  docker history sravanakumar28 /myrepos:sampleapp

  import      Import the contents from a tarball to create a filesystem image

  inspect     Display detailed information on one or more images

            ex: docker inspect sravanakumar28 /myrepos:sampleapp

  load        Load an image from a tar archive or STDIN

            ex: docker load -i /opt/img.tar

  ls          List images

            ex: docker images ls

  prune       Remove unused images

            ex: docker image  prune -a

  pull        Pull an image or a repository from a registry

            ex: docker pull centos:7

  push        Push an image or a repository to a registry

            ex:  docker push centos:7

  rm          Remove one or more images

  save        Save one or more images to a tar archive (streamed to STDOUT by                       default)

            ex: docker save tomcat:latest /opt/img.tar

  tag         Create a tag TARGET_IMAGE:TAG that refers to SOURCE_IMAGE:TAG

            ex: docker tag tomcat:latest sravanakumar28:sample

Containers Commands:

docker exec -it <containerID>  /bin/bash

docker pause <containerID>

docker status

docker status <container ID>

docker stop <containerID>

docker start  <containerID>

docker restart <containerID>

docker rm -f <containerID/containerName>  -- > to delete the container when it is in running state.